Tutorial: Sewing a Simple Camisole
This is a pattern for Blythes. It is one of the first patterns I made when I got my first blythe! The end product will fit Licca dolls or similar size dolls as well.
1) Save this pattern onto your computer, and print it out using a picture editing program.
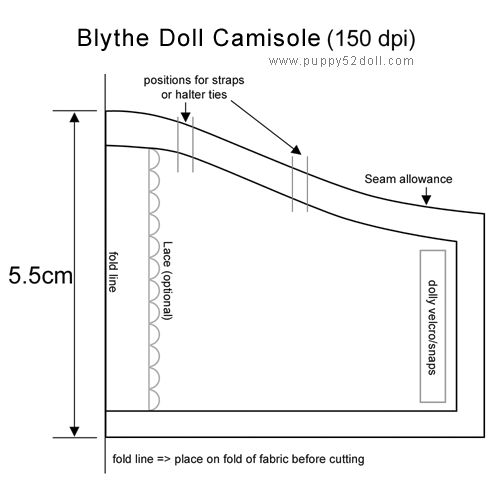
2) To make sure your print out is the right size, measure with a ruler to check if the line near the fold line is 5.5 cm.
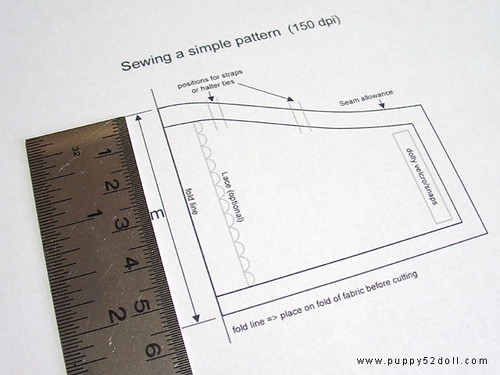
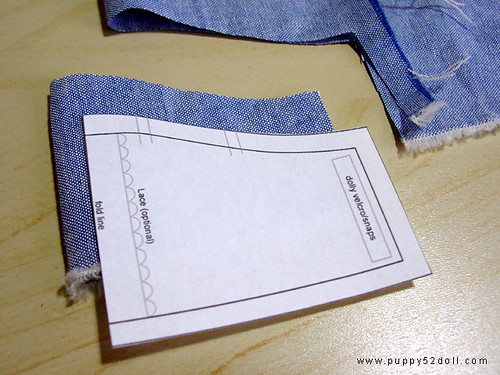
3) Cut pattern out.
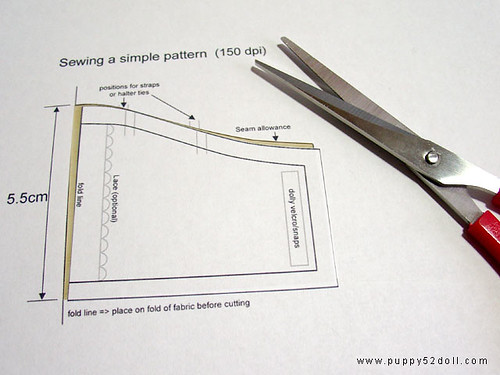
4) Place fold line of pattern on fold of fabric.
img class=”reflect” src=”https://farm2.static.flickr.com/1336/1473974350_d74e94d043.jpg?v=0″ alt=”” width=”500″ height=”375″ />
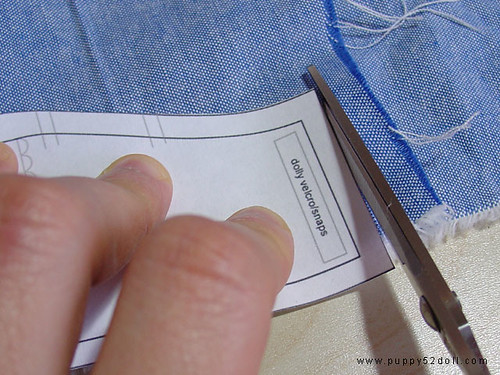
5) Holding the pattern on the fabric, cut around fabric carefully with a sharp scissors around the pattern
Important: do not cut the fold!
6) Variation: If you place the bottom of the pattern along the edge of the fabric which doesn’t fray, you do not need to sew that part later on.
The edge of the fabric I used has a furry white trim for this instance, this variation can be applied on a fabric with a lace edge as well.
7) Sew zig zag stitch around the seam allowance, this helps prevents fraying.
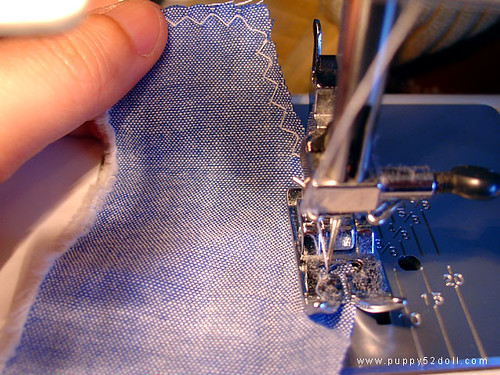
If needed, trim off any excess “fly away” threads.
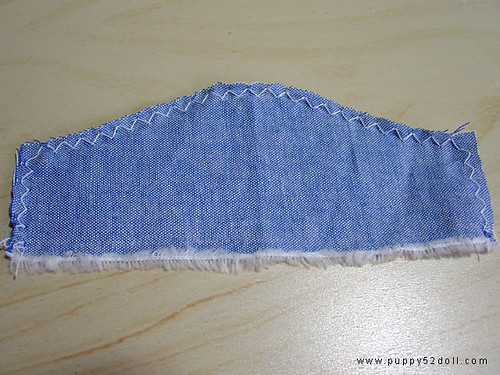
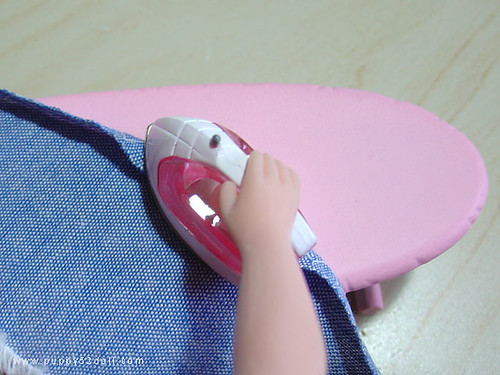
8) Tip: Before sewing the top stitching, press the seam allowances in place, this makes it easier to sew the top stitching.
When sewing a topstitch, use an unpicker to help tuck corners down where our fingers cannot.
Our fingers are too big to hold those tricky bits in place while it moves along under the pressure foot of the sewing machine.
Tip: Practice sewing very slowly on scraps of cotton before doing it on the actual piece.
Have your hand ready to stop the handwheel of the sewing machine especially when nearing the corner.
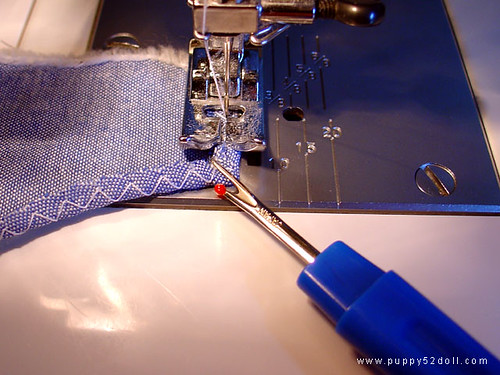
the other corner
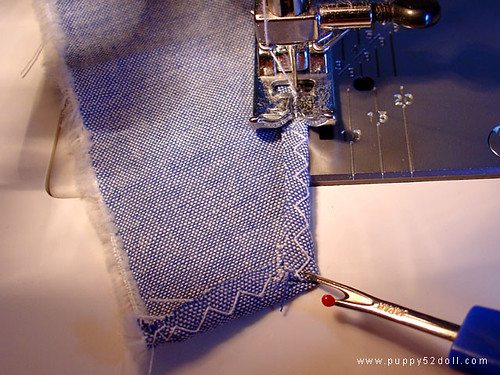
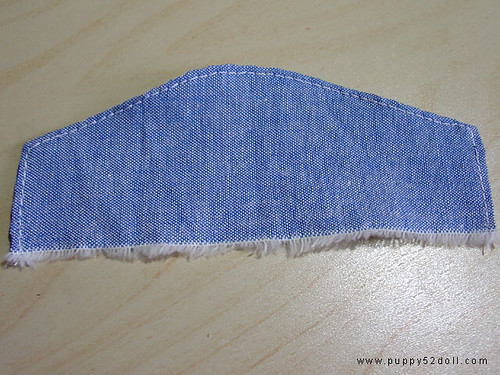
This is how the front of the bodice should look like when top stitching completed.
9) Position the strap by aligning it closely to the paper pattern (for this case, we use a skinny satin ribbon for the strap) and secure it temporarily with a pin.
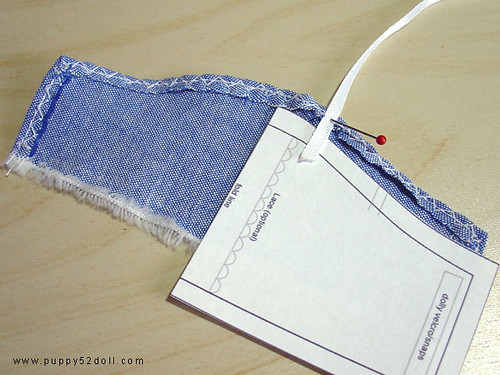
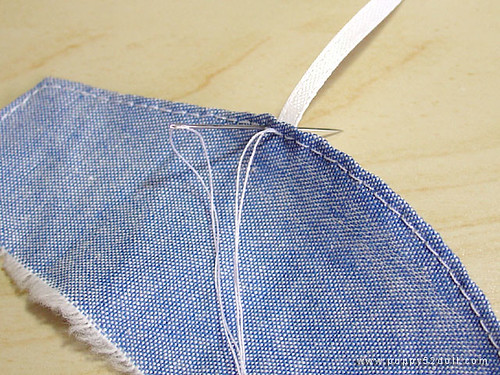
10) Hand stitch the strap in place.
Hand stitching is helpful for details which require precision.
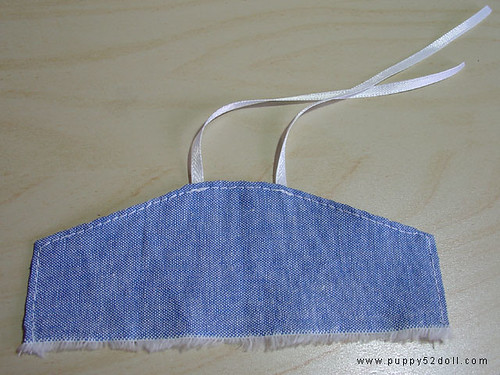
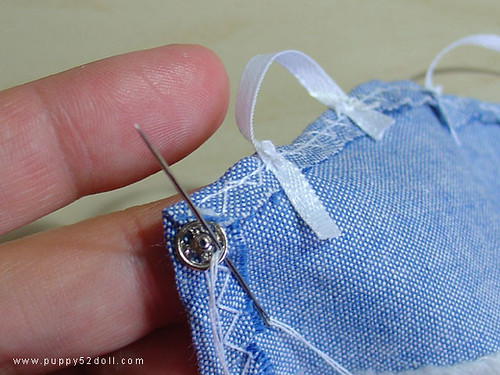
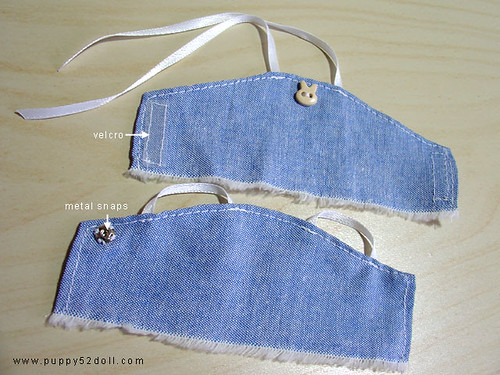
11) Leave enough length as Halter ties, for a simple halter top and sew on fasteners – dolly velcro, or snaps.
Snaps are more commonly found in craft stores.
12) To attach the straps with precision, position each strap on the doll with pins. I would recommend sewing the fastenings at the back last.
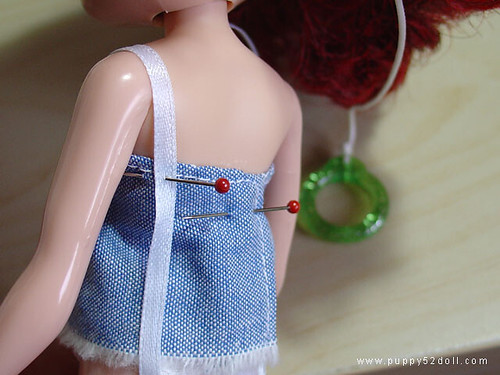
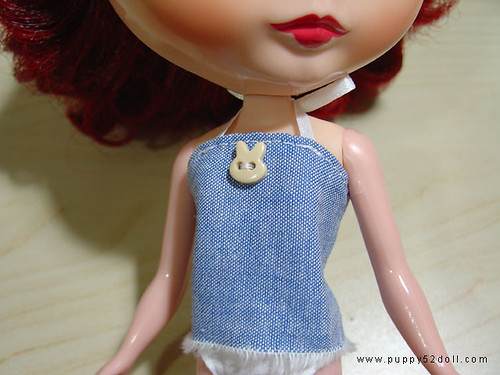
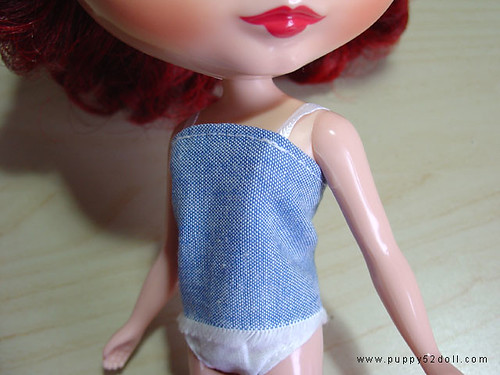
Tops completed! :D Feel free to add lace or buttons, or even pockets as desired!

thanks for tutorial, cute and simple
Okay…this one I can definitely try! The best tutorial yet!!
I hope it will be of some help! :D Lemme know if you got questions <3!
wow!!! it’s nice yeah!!
Thank you *so* much! It’s super helpful!!