
Dollfie Dream Geta
I had been meaning to try to make a pair of dollfie dream size Geta, and had bought the wood planks and sticks from Daiso last year, but only got around to making them recently. ^^;

I was trying to think how I should make them, so this is more like a “improvise-as-I-make” type project ^^;
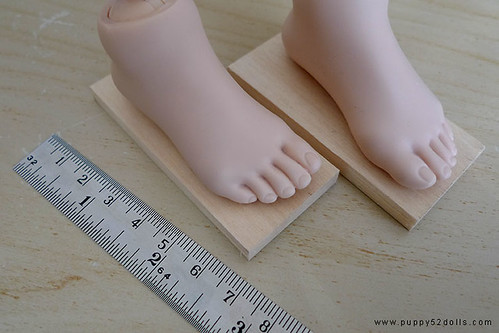
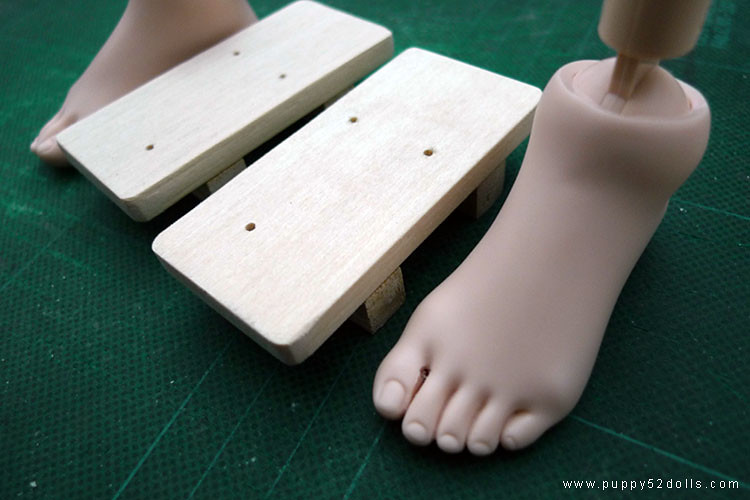
First I measure with the dollfie dream foot roughly the size I wanted to cut out, use a pencil to draw the lines, cut out the two pieces with a metal ruler and penknife.
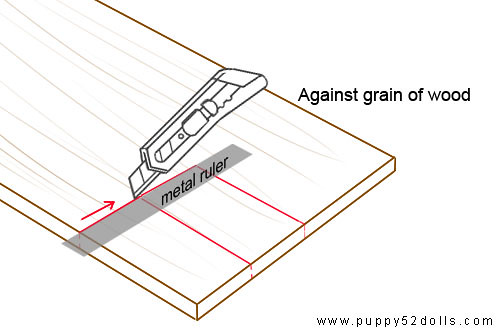
I find that if we use a saw to cut, it removes too much wood when sawing, so I used a penknife and cut over and over on the top/bottom part of the wood, and then snap the wood pieces.

The edges are not 100% straight due to me snapping the pieces off, so the next step is sanding. Corners are sanded and rounded off.

Along with the plank of wood I bought, I also bought a couple long sticks of wood pieces, using a sharp penknife I measure and slowly cut it to the length I wanted to make the “teeth” at the bottom of the Geta :) I cut the teeth pieces a little longer, and then sand them to the right length ^^

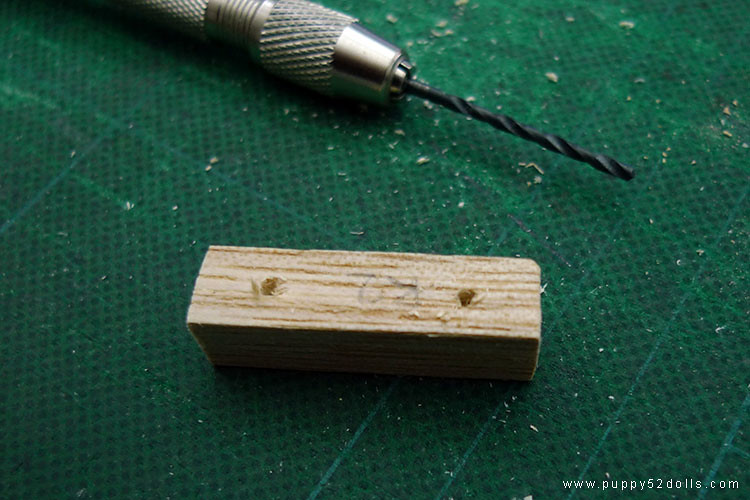
Next I use a pencil to mark under the Geta pieces, and write down on the surface which will be glued together, L1 L2, and R1 R2 (L= Left, R= Right) and then using a small drill bit, drill 2 holes into the teeth pieces :D
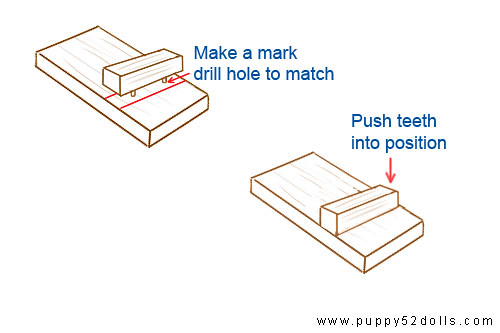
At first I was trying to use a piece of metal wire to stick into the hole (to re-enforce the joining), then my husband said I could use toothpick, as the toothpick is soft enough to be pushed into a slightly smaller hole :D When the tooth pick sticks are pushed into the tooth piece, I place it on the under side of the plank to make a mark for drilling matching holes (do not need to drill thru the plank) — hope you get the idea ^^; This method is quite sturdy — I did not have to use glue at this stage even and the teeth stayed connected to the plank. ^^

Next step is marking the 3 points where the straps will be attached, and drill the holes. I also decided to separate the big and index toe — it was quite easy to do so with a penknife ^^; I would advice against cutting the feet if you suspect you may intend to sell your doll later tho!
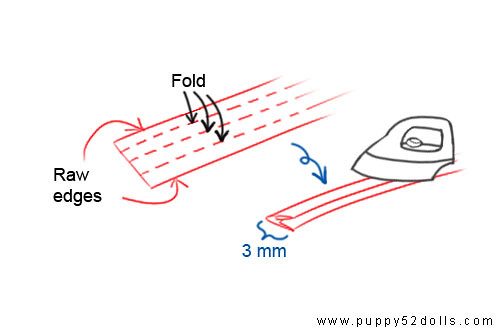
Finally, I cut some strips of fabric, fold and iron the raw edges to hide it and used the strips for the straps.
I used the sharp end of a toothpick to push the strips thru the holes, make sure they work over the foot and used a low heat glue gun to secure the strips at the bottom. I couldn’t find my wood glue ^^; but the low heat glue gun worked okay, just a bit messy at the bottom ^^; I sprayed a coat of Mr. Super Clear, hopefully it will help keep the Geta in decent shape for a while :)
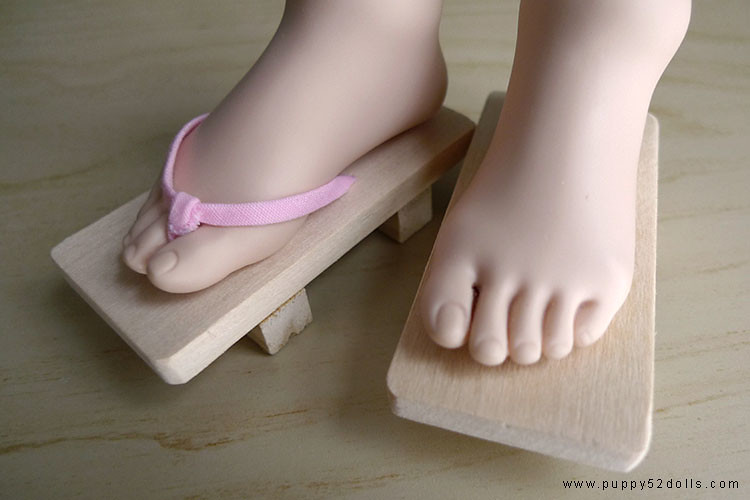
Completed :D

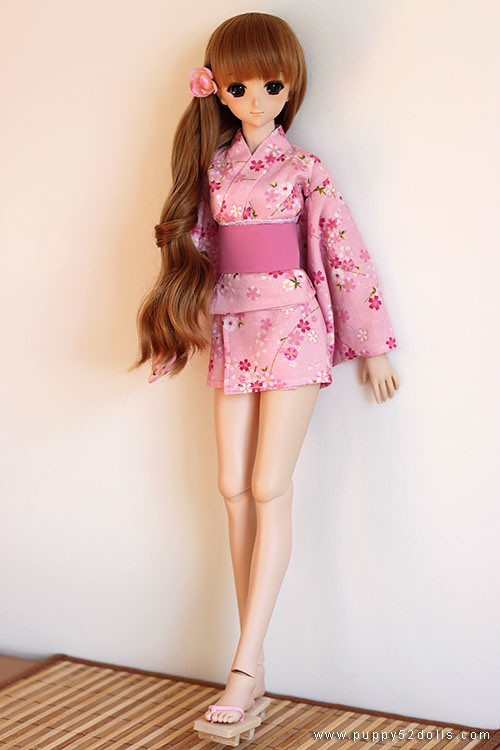
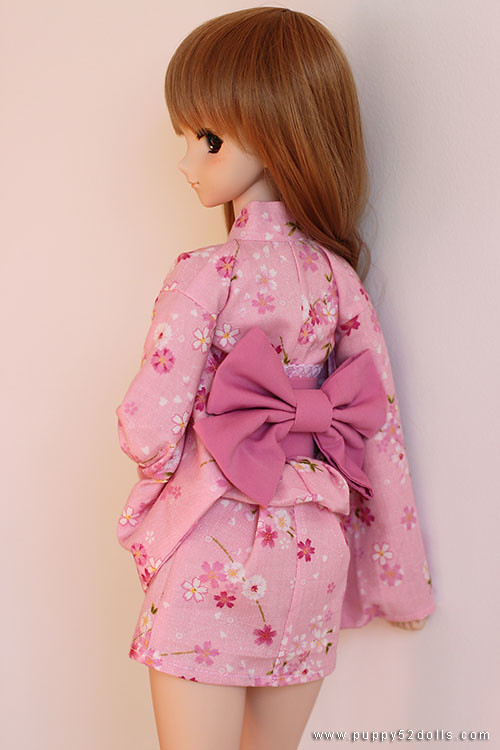
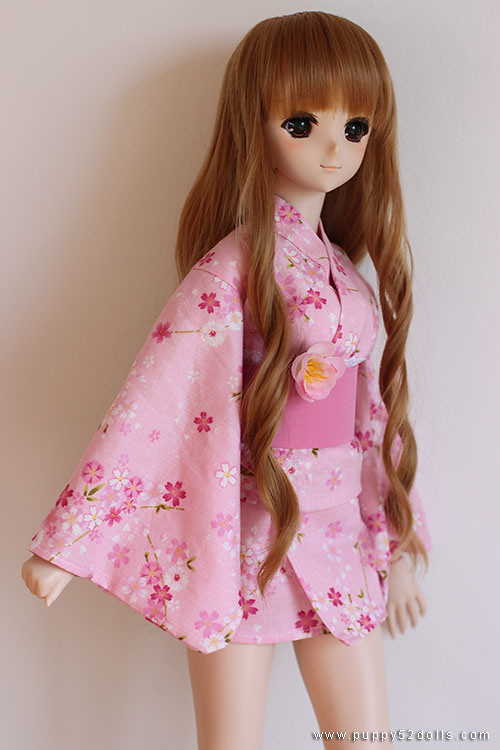
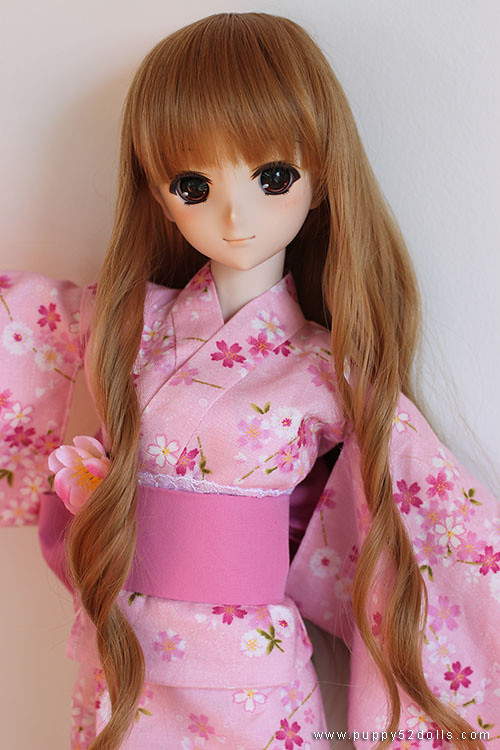
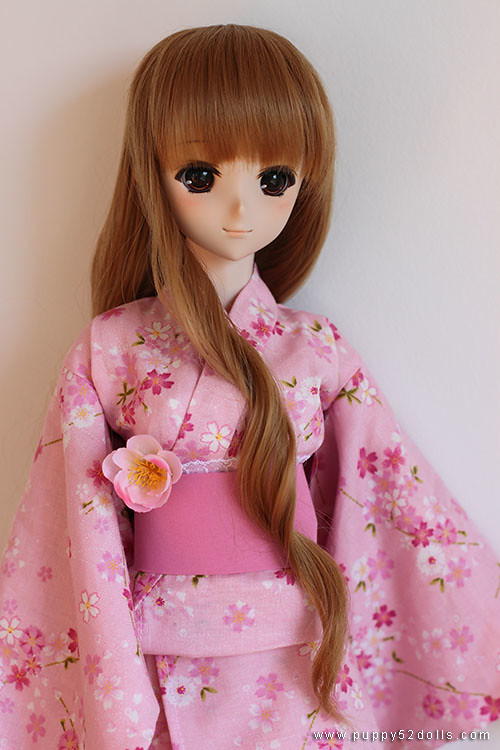
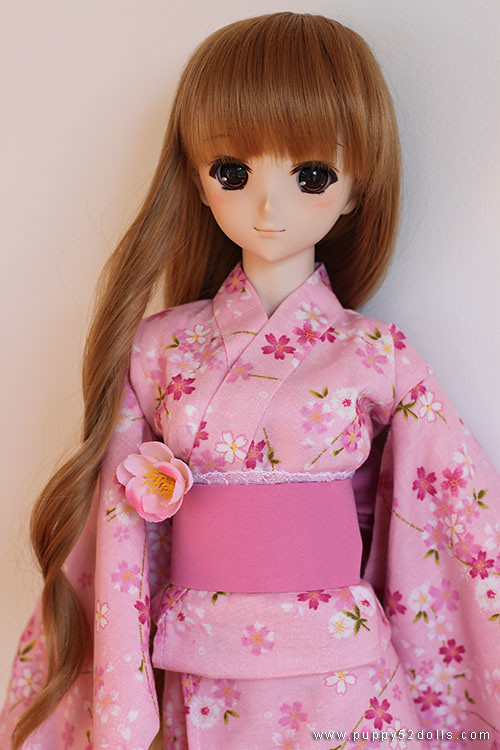
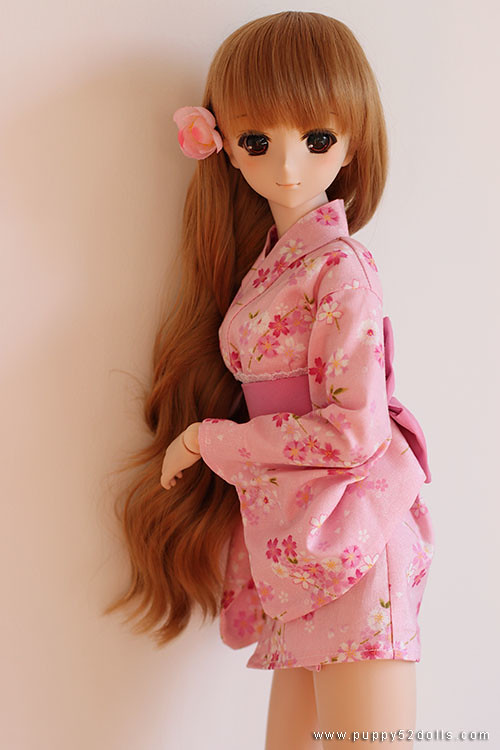
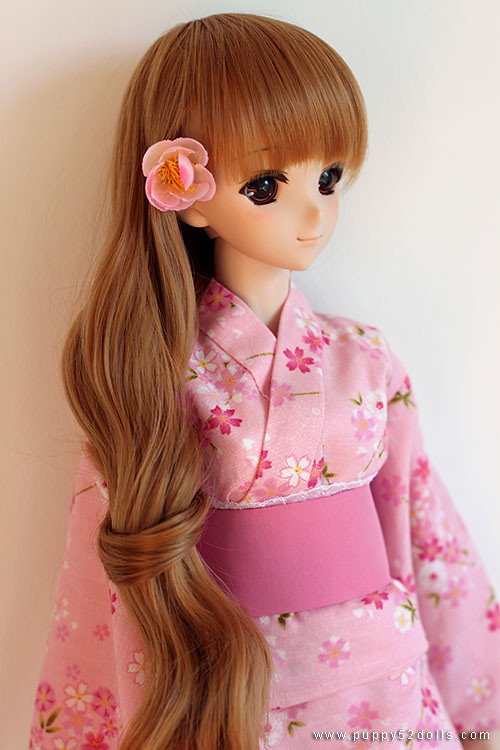
Aki Modeling the Getas ^o^
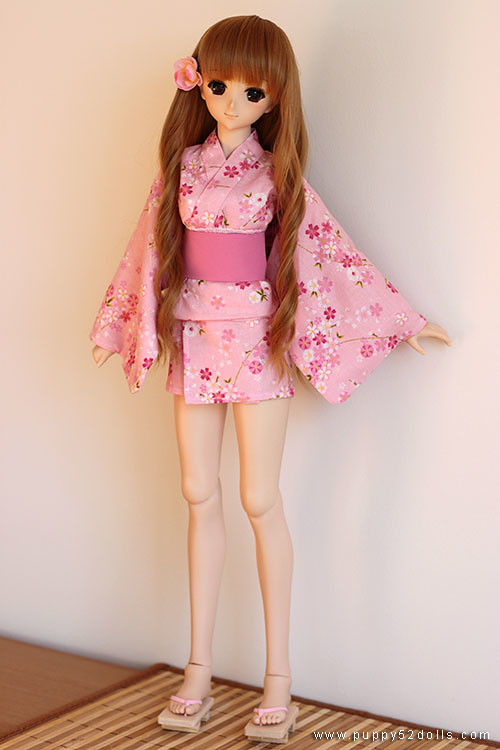
She borrowed Taiga’s obi XD
Doesn’t look too bad?
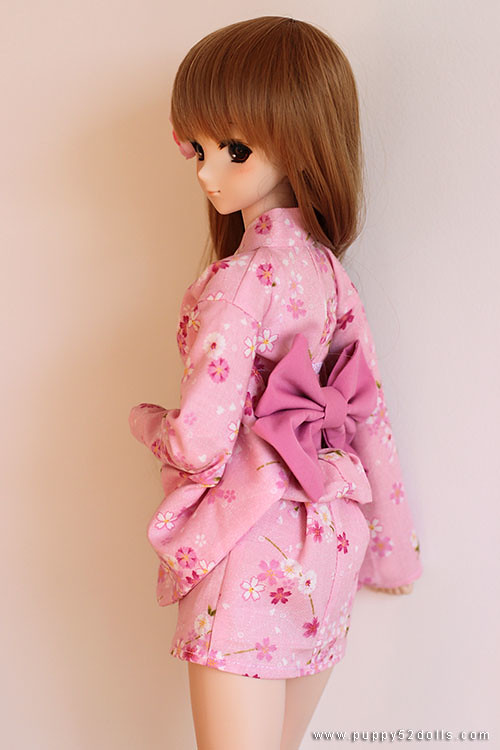
A few moar ;P
Too bad I didn’t have time to take her outside for photos ^^;
Hope you like! :3
AND.. Aki is SOOOOOO beautiful *just fainted*
I was just about to say that ^o^
Nice work once again Chun (^^) but I was just wondering, is the square type supposed to be for men use and the round type for ladies? (i’m not sure on that part of the culture)
haha actually I’m not 100% sure, but I know there are definitely more feminine design type getas for ladies, but doing a search for both gender turn up something similar to this too :3 Aki thankq XD
nicely done ( ̄∇ ̄ ) !
was it quick to slice the toe though >_> ?
i’d imagine if there were to be mistakes during the slicing process, that’d be problematic >_>
It was quite easy to slice, maybe even too easy **; felt like cutting a firm piece of butter with a sharp knife ^^; That’s why up there I mentioned not recommended if owner may want to rehome doll in near future. It’s irreversible after all ^^;
This is lovely Chun! I love the tutorial, and the whole ensemble is adorable!
Thank you romina! I love the tiny shoes you and your husband made recently too!
nice geta!
Thanks! Stamps idea? Hehheh