
Making of the Mirai Seifuku
As promised, here it is! A photographic documentation of the making of the Mirai Seifuku ^^!
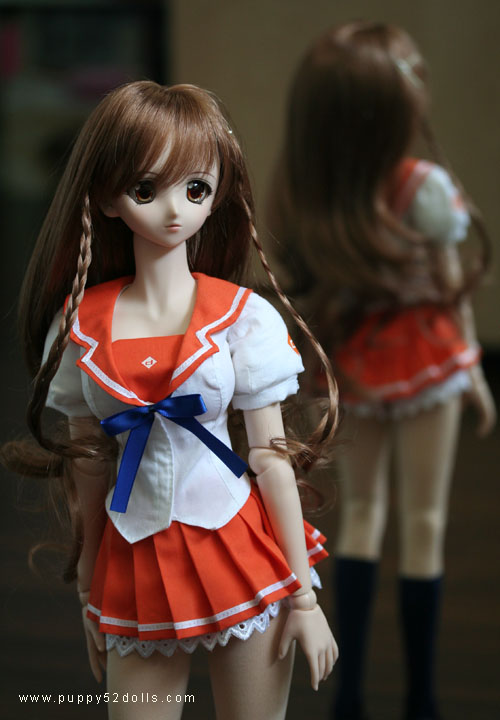
I’m a big fan of Danny Choo’s Mascot(s) – Mirai Suenaga and sister Haruka Suenaga. Heck, I even named my Yukino Dollfie Dream after Mirai! When I was influenced by Danny and fell in love with Yukino – a Dollfie Dream, I knew I had to eventually make my own Mirai Seifuku! ^^; I guess Danny had a same idea for his Dollfie Dream, so he commissioned me to make a set for his lovely Dollfie Dream girls :)
It was quite challenging, as I needed to create a pattern from scratch, and make sure the pattern match closely to the actual Seifuku design by Azami Yuko Sensei. Thru researching various links, I found this particular japanese tutorial particularly helpful. (Domo Arigato!) Link broken :(
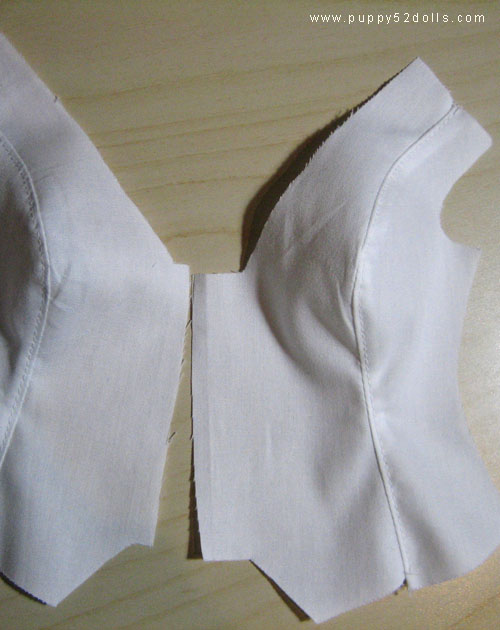
After making the pattern for the bodice, I had to cut it out to shape and draw a seam allowances, then sew the pieces together. At this stage, it is easy to make mistakes, like some parts fit too tight or too loosely. Now is the time to make adjustments and change the pattern accordingly.
Having the actual doll with the same type of body helps as fitting is very important for the clothing to sit right on the doll.
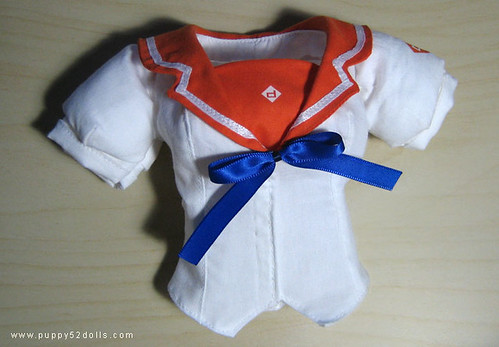
Front with some parts sewn together ^^/
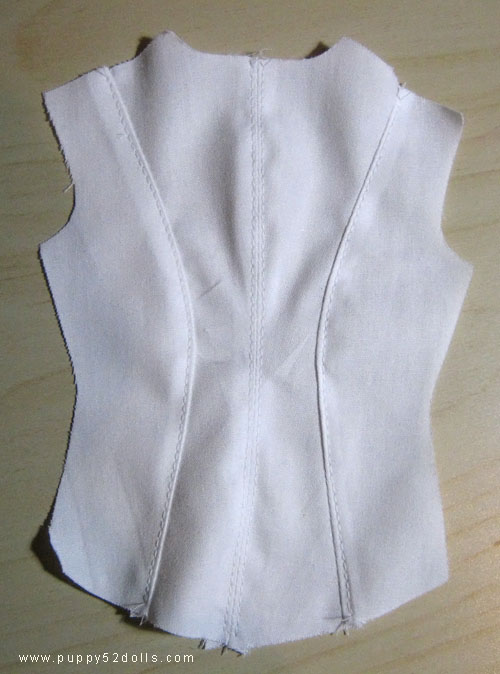
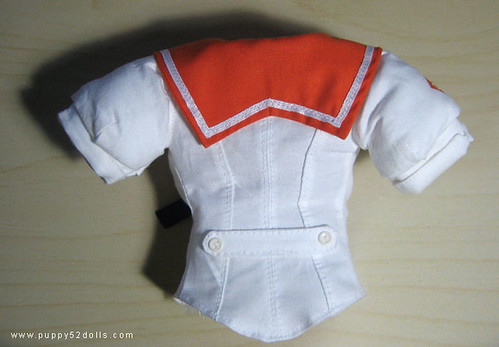
Back
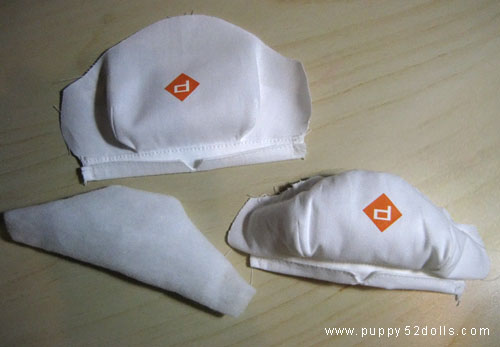
Then I had to custom design the sleeves as it is not the regular puffy sleeves I normally make, it took a few tries before I finalised the pattern. Danny requested that I put some “stuffing” in the sleeves, with reference to his Saber Dollfie’s outfit, so I made a test sleeve. Drew a rough “logo” in place. Also had to make sure the stuffing fit right, not bulging out in strange locations ^^;

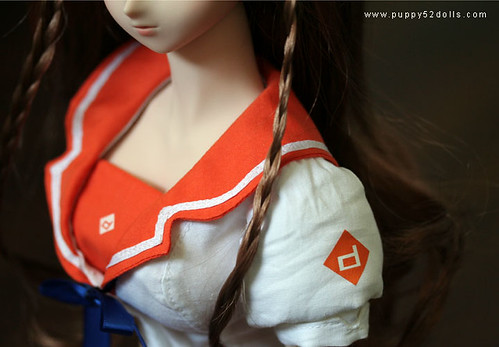
Final design, the logo was printed out on a tee-shirt transfer paper and was ironed on after I cut out the pieces. I iron the other fabric cut-outs of the sleeves together as well. Ironing make sure the fabric lay flat, making it easier to sew.
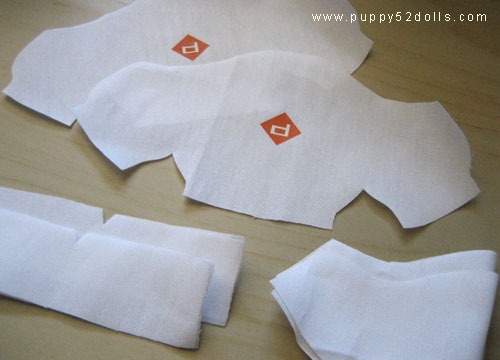
Logo ironed on
Sleeves in progress…

After sewing a pair of completed sleeves I realised I made the cuffs a bit too short :P so I actually had to remake the blouse ^^; I usually keep sewing which I feel has mistakes in it for my own dolls ^^;/
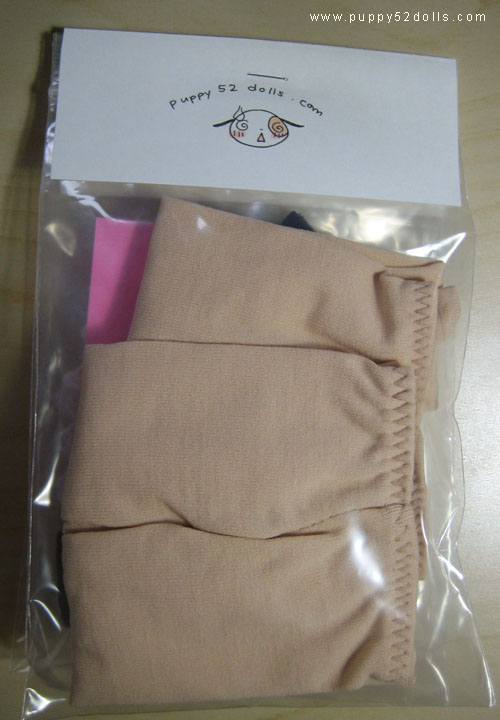
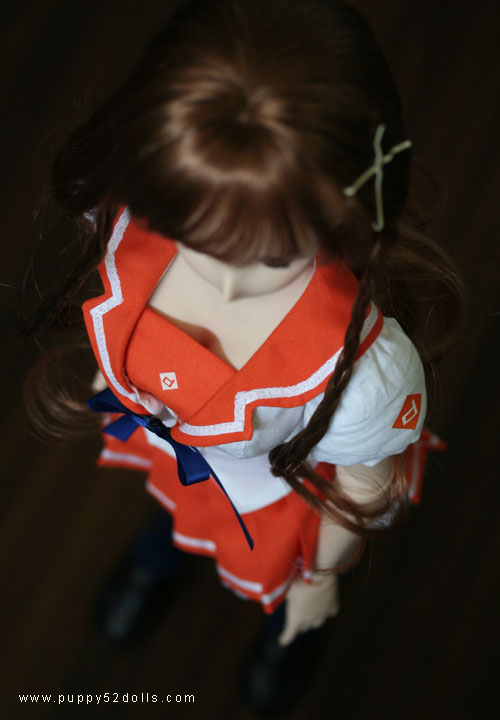
Thankfully the last attempt was good enough to send out to Danny, didn’t want to keep him waiting too long! ;P In order for the outfit not to be squished and flattened, I stuffed it a bit before I packaged it :) The ribbon is a seperate piece, where it can be attached at the back under the collar ^^/ An easier way would be to sew it in front of the collar, but I felt that it may not be centralised properly tho.
I did a quick hand drawn care instructions card to be included ^^;

With all the commissioned items I make, I put them into zip lock bags, unless I am trying it on the doll for fitting.
The labels for Danny’s commissioned doll outfit are actually hand drawn, as since my website address changed the begining of the year. I need to design and print more new labels (oops)! But I think I kinda like the hand drawn quality of these labels tho :D

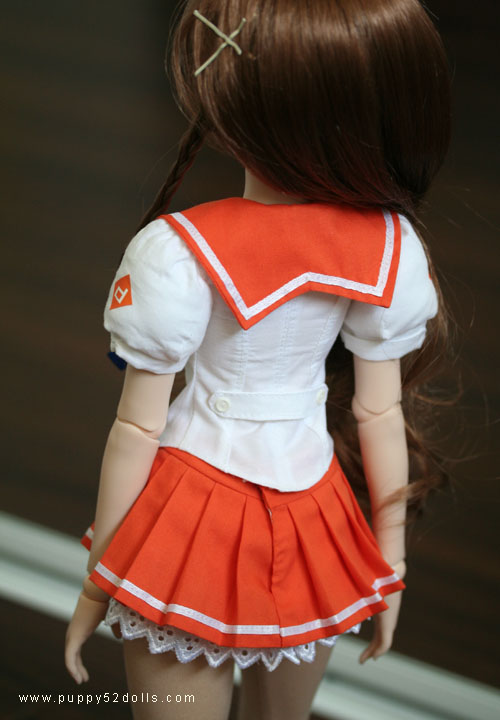
The blouse and skirt took a few hours each to make. I made them over a period of about a month plus, since I am not sewing full time. The skirt was tedious as I need to iron the pleats and that can take a while. (I apologize, I did not document the skirt in detail ^^;). But still, the blouse is the most complex of the pieces.
The most difficult part of the blouse was to get it to fit right, especially with the L bust, the curves are like, “danger ahead” (LOL)! It can be a little frustrating when just one part of the blouse doesn’t fit right and I have to remake the whole thing ^^; But the completed end result is extremely satisfying!
Heartfelt thanks to Danny for believing in my workmanship to commission me to make the oufit!
If you like to see more photos please check out this entry.
Lastly just want to mention that taitan-no.net linked up to one of my blog entry about my 2nd Mamachapp ^^;/ Thanks again Danny for the heads up! :3
Thanks for looking, hope you find this entry informative! ^^/
Thanks everyone for the kind feedback!
@phossil hehe yes that tutorial definitely helped a great deal :)
@Arayden KOGs human clothes are bigger, and they don’t stay flat together without having to do a lot of work like pinning, then basting(sewing them temporarily together), doll clothing is slightly different :3 Good luck finding a partner!
@Kesenaitsumi I think that’s why they can cost a lot ^^;
@Najica you may wish to search online for “flat collar” I found by chance this link which may be of some help to you: http://www.godsavethequeenfashions.com/Making_a_Sailor_Collar.html
I did it a bit differently since it’s a doll’s collar ^^;
Wow, awesome work Chun! ^^ Im kinda wondering how you sew the collar onto the blouse itself, since im trying to make a Seifuku (or alteast the top) in school but not sure how i should attach the collar (Havn’t got an proper pattern for it either :x) so im looking for ideas. And keep working hard! o/
Been Linked here through danny’s site. It seemed really hard to actually make an outfit for dolls O.O
I wonder why human 1:1 clothes are harder to make ( papermoon anyone? ROFLMAO )
Hope i can find a good partner to get some DD accessories.. hunting for a L Bust ( Normal Skin ) Hurhurhurhurhurhur.